|
I want to show how I make my paperback books that I send out when
people order. This is not a tutorial on how to make the books, just showing the
process steps I take to make them. Sometime in the near future I will have a DVD
showing in detail how to make your own paperbacks, I'll post on my website when the
DVD is ready.
What I'm showing here is a simplified version of the book process, it generally
takes me two days from start to finish to do four books as seen below.
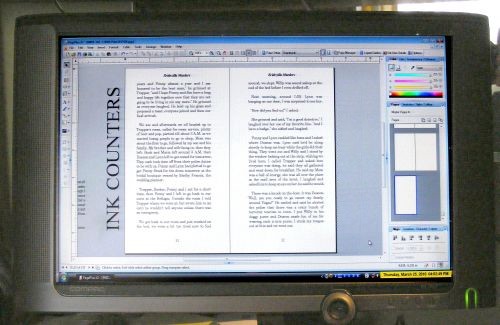
I first have to write the story, so I use my laptop and a program called Notetab 6
which allows me to write my chapters in separate files called outlines. Not an
outline of the story, I don't do outlines, these are called outlines because it
divides your chapters into separate files so you can jump from one to the other.
Below is a picture of the writing program:

After I write the entire story I flow the text into a template I created for my
books on a program called PagePlus, it's a desktop publishing program that I have
used for years to do all my promotional materials. It allows me to set up the pages
in what they call 4 page signatures that allow me to print and fold them into books.
Below is a picture of the PagePlus program:
After the pages are ready on the program, then I print them on my Epson 1280 wide printer.
I first trim the paper to size then run them through the printer for the next step.
Below is a picture of the printer working:
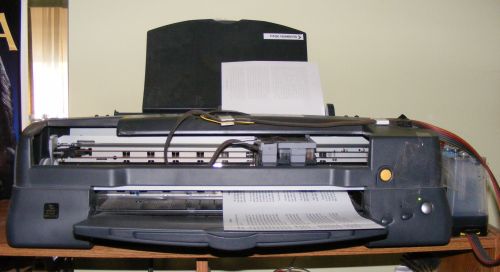
If you look on the right side of the printer you will see the bulk ink system I
installed on the printer, this helps in savings so I don't have to buy expensive ink cartridges.
Next after the pages are printed I have to fold the pages and stack them in order of page
number. I print four books at a time and it takes about 3-4 hours to print all the pages on
both sides.
Below is how I fold and stack the pages:

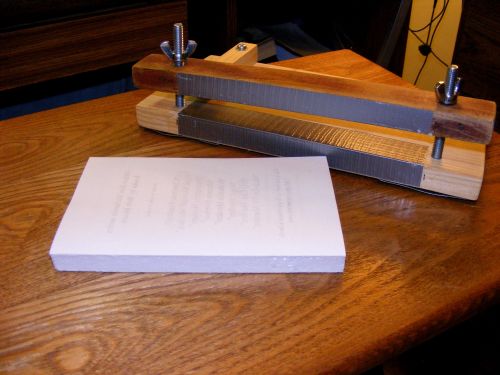
After the pages are stacked I put them in a padding press that I made. It is used
to clamp pages together so they can be glued on the spine.
Below is the Padding press:
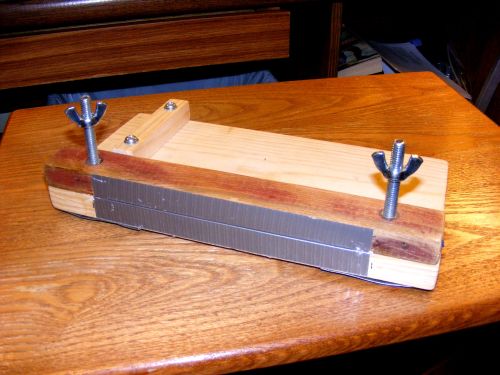
The pages are put in the press and straightened to square up the book and make the
spine smooth.
Below shows the pages in the press:

Once the pages are straight, the press is clamped to hold the pages together and tight.
Then glue is applied to the spine and let to dry.
Below shows the pages being glued:

When the glue has dried, the book is removed and the sides trimmed to remove excess glue.
Below shows the finished book after gluing the spine.
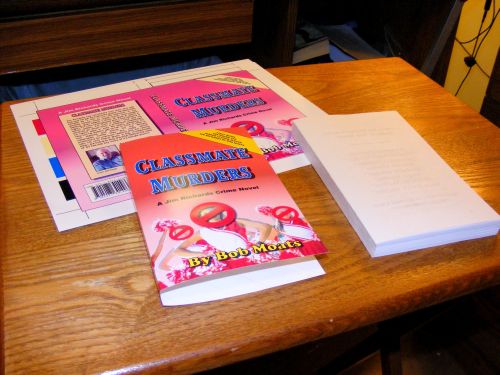
I have set up the covers for the books on the PagePlus program and they are printed on Kodak photo paper
then trimmed to fit the book.
Below shows the cover before trim and after with fold:
The spine of the book is coated with hot glue using a hot glue gun but the cover is not put on yet.
This shows the hot glue gun to spread glue on the spine of the book:

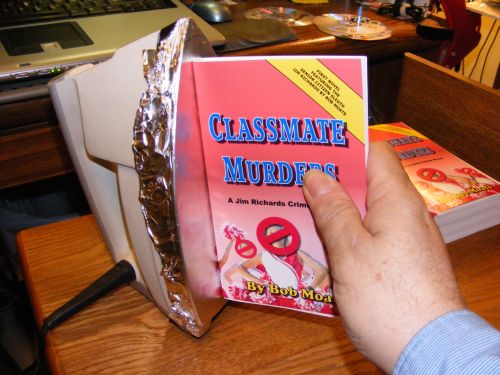
Once the glue has hardened, the cover is slipped on the book and then the edge is
heated with a clothes iron and that causes the hot glue to bond the spine and the
cover together. In the printing trades this is similar to what is called Perfect Binding.
Then the book covers are glued to the first sheet of the book, front and back and
then trimmed on my guillotine paper trimmer. I cut all three sides.
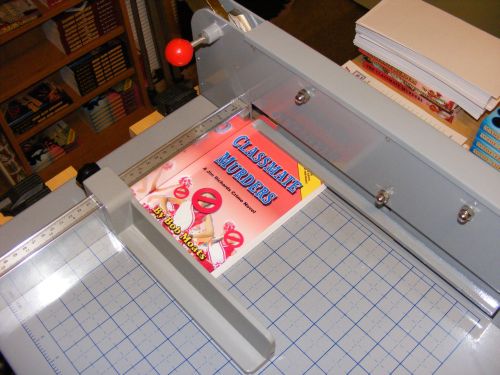
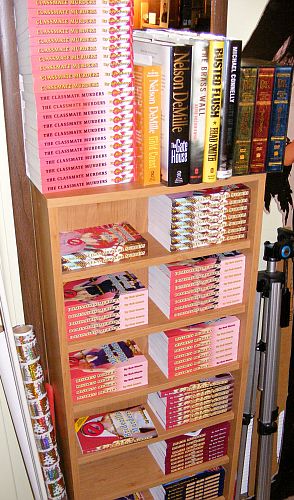
When the books are all trimmed and finished, I put them on my storage rack ready
to be sent out to some lucky reader.
That's it, this was a simplified explanation of how my books are made, there
is a little more work that goes into them, but this is just so you understand the
process.
Thanks, Bob Moats.
|